
November 2, 2026
Before baking season gets busy, clean the part of the oven you actually need to see. The oven door window collects grease, flour dust, fingerprints, and the occasional splatter, yet it is often treated as evidence that the entire oven needs to be taken apart. Usually, the glass simply needs focused attention.
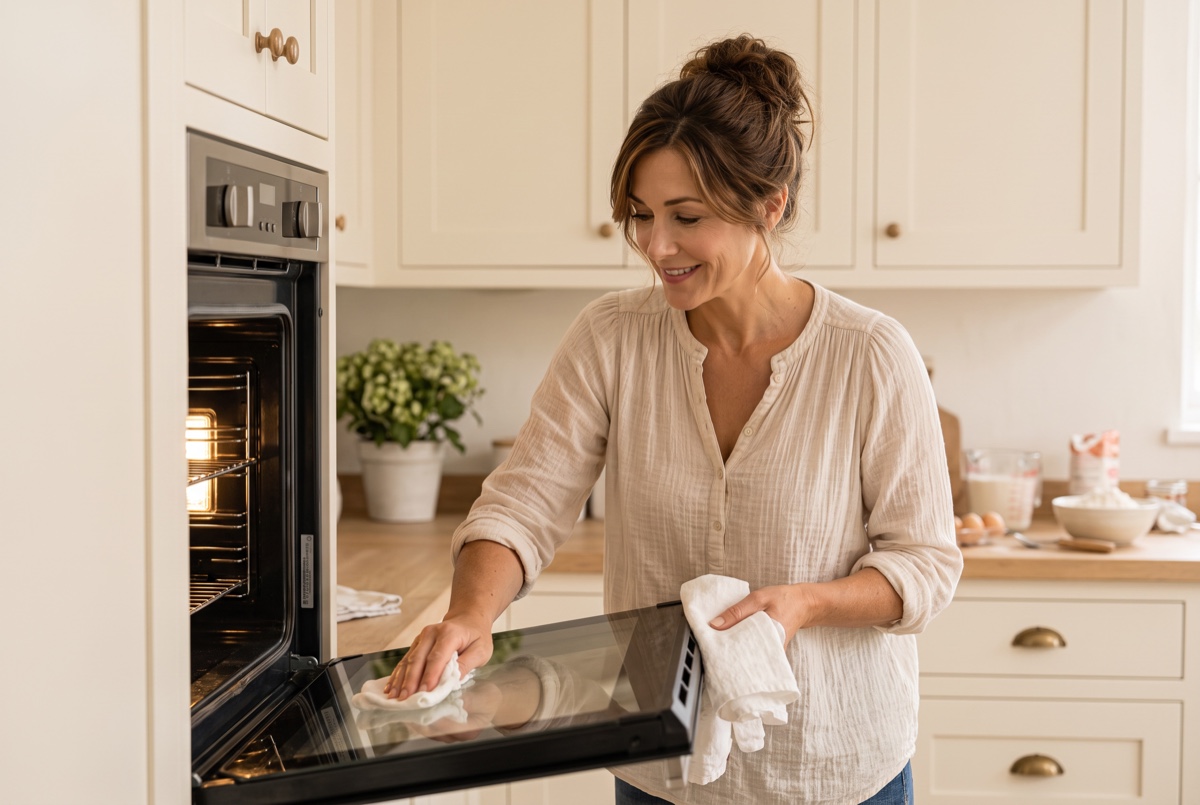
A clear window is practical. It lets you check browning without opening the door, which helps you avoid losing heat in the middle of a bake. It also makes the kitchen feel more prepared. You can see the loaf, pie, or casserole doing its work instead of looking through a cloudy record of old meals.
Start with the oven’s instructions
Read the appliance manual before removing anything. Oven doors and inner glass panels vary. Some are designed for a specific cleaning position, while others require a technician or a particular sequence for access. Do not loosen screws just because they are visible, and do not force a hinge lock or panel.
If the manual is unavailable, look up the exact model number through the manufacturer’s current documentation. This is a small task, but appliance glass is not a place for improvisation. A cracked panel, a door that no longer closes squarely, or a hinge that has shifted is a repair question, not a cleaning challenge.
Clean the outside surface first
Let the oven cool completely. Remove anything resting on the door and brush away dry crumbs. Use a soft cloth dampened with a suitable kitchen cleaner or mild soapy water, following the product label and the oven manufacturer’s guidance. Keep liquid away from vents, controls, seals, and the edges of the glass.
Work in small sections. A soft microfiber cloth is useful because it lifts greasy film without needing an abrasive pad. If the surface is very dirty, allow the cleaner the contact time stated on its label, then wipe with a clean damp cloth. Follow with a dry cloth to reduce streaks.
Do not scratch the glass
Skip steel wool, harsh scouring powders, razor blades, and anything not approved for the surface. A scratch may be difficult to see until the window catches light, and aggressive scraping can do more harm than the original mark. Dried residue is best softened with moisture and patience.
Do not mix cleaners. In particular, never combine products that contain bleach, ammonia, acids, or other reactive ingredients. Use one labeled product at a time, ventilate the room as appropriate, and keep children and pets away from wet surfaces.
Reach the inner glass only when the design allows it
If the manual gives a safe method for accessing the inner pane, set down a folded towel before beginning. It can protect the floor and give small parts a contained landing place. Photograph the arrangement before removing anything, and keep screws or clips together rather than scattering them on the counter.
Clean the accessible glass with the same gentle approach: soft cloth, appropriate cleaner, limited moisture, and a final dry pass. Do not pour liquid into the door. Do not remove insulation or dismantle the door beyond the instructions. If residue is between sealed panes, the door may need service or replacement rather than a stronger cleaner.
Leave the rest of the oven for another day
The door window is a high-visibility, high-use surface. That makes it a satisfying pre-baking-season job, even if the oven interior is not spotless. Wipe the handle, check the seal for loose crumbs, and clear the area around the controls. Then stop.
Homekeeping improves when the size of the task matches the need. A clear window helps you bake with better visibility. It does not require a dramatic whole-oven production. Sometimes preparation is simply making the next useful thing easier to see.
With care,
Hazel