
How to Wash Backpacks and Lunch Bags Without Ruining Them
August 5, 2026
Backpacks and lunch bags look washable, but they are rarely simple pieces of fabric. A backpack may combine a coated outer shell, foam padding, mesh, zippers, reflective trim, stiff panels, and printed decoration. An insulated lunch bag may add a thermal lining, sealed seams, or layers that can trap water. The cleaning method that freshens one bag can distort, fade, delaminate, or weaken another.
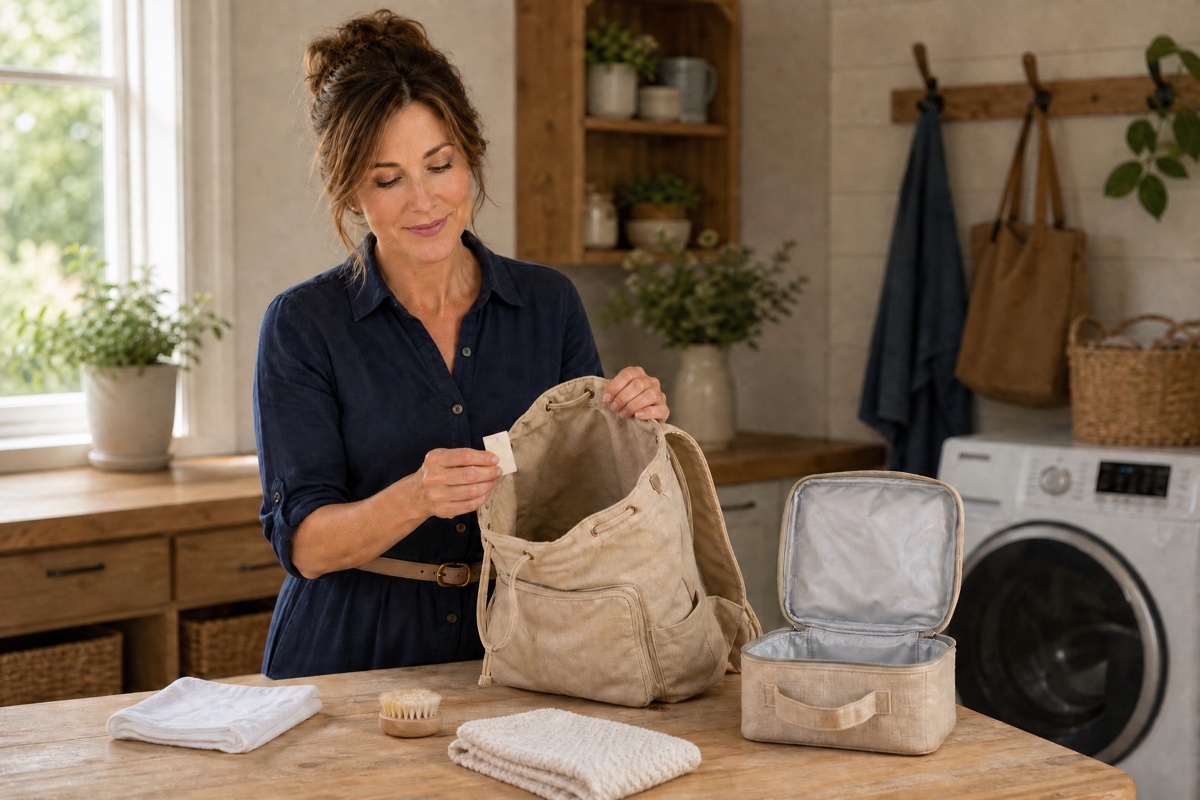
The safest starting point is not the washing machine. It is the care label and the manufacturer’s instructions. Once you know what the maker permits, you can choose among three practical paths: spot clean, hand wash, or machine wash. If the label is missing or unclear, use the least wet method that addresses the soil and protects the bag’s structure.
Treat the backpack and lunch bag as separate decisions
Even when they arrive home together, these items do different jobs and often use different materials. A canvas backpack may tolerate a wash that would damage an insulated lunch bag. Two backpacks from different brands may also have completely different care directions because one contains a removable frame and the other uses foam, coatings, leather trim, or bonded decoration.
Read every sewn-in label and check the exact product page or maker’s care page when it is available. Look for instructions about water temperature, detergent, machine washing, hand washing, spot cleaning, bleaching, and drying. Treat a crossed-out wash tub or a spot-clean-only direction as a boundary, not a suggestion to try a gentler machine cycle.
Empty, open, and inspect before adding moisture
Take everything out of the main compartment, small pockets, pencil sleeves, bottle pockets, and hidden sections. Remove food, used packaging, crumbs, paper, and anything that can dissolve, stain, or damage the wash. The U.S. Department of Agriculture advises discarding leftover food and used food packaging after lunch rather than carrying or reusing it.
Turn the bag upside down and gently shake out loose debris where that will not damage the structure. A clean soft brush or low-suction vacuum tool can lift crumbs and dry soil from seams and pockets if the maker permits it. Remove only the inserts, straps, or rigid pieces that the instructions identify as removable. Do not force out a stiffener that appears sewn or bonded in place.
Inspect zippers, buckles, stitching, printed graphics, leather or suede trim, reflective material, and the lunch bag lining. Also look for peeling coatings, cracked thermal film, open seams, exposed foam, color transfer, or a label that is no longer readable. Damage can change a cleaning job into a repair or replacement decision.
Choose the least intensive permitted method
Match the cleaning path to both the care directions and the actual soil. A dusty corner does not require a full wash, while a spill inside an insulated bag may need prompt attention. Before using any cleaner, read its label, check that the bag maker allows it, and test the complete method in a small, inconspicuous area. Let the test dry so you can check for fading, rings, stiffness, tackiness, or surface changes.
Path one: spot clean or wipe clean
Use this path when the maker specifies spot cleaning, when the item contains nonwashable components, or when the soil is limited to one area. Start by removing dry debris. Apply the permitted cleaning solution to a soft cloth rather than pouring or spraying it into seams, foam, or insulation. Work from the outside edge of a mark toward the center so the wet area stays controlled.
For a smooth lunch bag lining, follow the manufacturer’s directions for wiping the interior, seams, and corners. The American Cleaning Institute advises following care instructions for reusable bags and making sure bags are dry before storage. If the maker calls for a rinse or a clean-water wipe, complete that step so cleaning residue does not remain. Blot excess moisture with a clean towel and leave the bag open to dry.
Path two: hand wash
Use hand washing only when the label or maker permits it. Remove approved detachable pieces, then prepare water and detergent exactly as directed. Keep soaking time, agitation, and water temperature within the maker’s limits. Support the bag rather than twisting, wringing, or pulling on wet straps, because wet padding and layered fabric can become heavy.
Concentrate gentle cleaning on the areas that contact hands, shoulders, the floor, or food containers. Use a soft cloth or brush only if it is appropriate for the material. Rinse as directed, then press with a clean towel to remove excess water without crushing padding or creasing a thermal lining.
Path three: machine wash
Machine wash only when the bag’s own directions clearly allow it. Follow the specified cycle, water temperature, detergent, load size, and preparation steps. If the maker requires a laundry bag, pillowcase, or another form of protection for straps and hardware, use it. Do not assume a delicate cycle makes every backpack or lunch bag machine washable.
Keep loose straps and buckles from catching as the instructions direct, and avoid washing the bag with items that could transfer dye or snag its surface. A machine-washable fabric shell does not automatically mean every insert, lunch container, ice pack, or accessory can go into the washer. Check those pieces separately.
Dry every layer before repacking
Follow the drying directions with the same care as the washing directions. Use a dryer only when the maker explicitly permits it. Otherwise, reshape the empty bag and place it where air can circulate through the main compartment, pockets, seams, padding, and lining. Keep compartments open when the construction allows, and turn the bag during drying if that helps hidden areas receive air.
Do not repack the bag because the outside feels dry. Press a clean, dry hand or cloth into padded straps, the bottom panel, deep corners, and the insulated lining to check for remaining dampness. Continue drying if any inner layer feels cool or damp. Direct high heat, a hot radiator, or intense sunlight can affect some coatings, adhesives, colors, and plastics, so use those methods only when the maker allows them.
Use a small daily reset for lunch bags
A lunch bag does not need a deep wash after every trip when the maker’s routine care is simpler. At the end of the day, remove food, used packaging, containers, napkins, and cold packs. Deal with spills while they are still easy to locate, following the bag’s wipe-clean directions. Wash food containers and cold packs according to their own instructions.
Leave the empty lunch bag open until the interior is dry, then store it in a cool, dry place with air circulation. This short reset makes it easier to see when the bag needs a deeper cleaning and helps prevent a forgotten container from becoming the next morning’s surprise.
Know when cleaning is not the whole answer
Stop if color transfers, a coating softens or peels, printed decoration lifts, glue becomes tacky, insulation separates, foam stays saturated, or hardware begins to corrode. A torn load-bearing strap, broken buckle, damaged zipper, cracked lining, or exposed inner layer may need repair or replacement before the bag returns to daily use.
The useful rule is simple: label first, least-wet effective method second, and complete drying before anything goes back inside. That sequence protects the bag from enthusiastic guessing and turns a messy end-of-day chore into a careful, repeatable routine.
With care,
Hazel